Using Repository Categories (v 1.4)
Adding Categories to Repositories
Navigate to the repository's "Settings" > "Repository details".
You can add categories by adding them to the "Categories" field. Just start typing and select (return key or mouse click) one of the already existing project categories or create a new one by selecting the first line.
Don't forget to hit "Save".
Image 1: Adding a category to a repository (click to enlarge)
Removing Categories from Repositories
Navigate to the repository's "Settings" > "Repository details".
You can remove categories by removing them from the "Categories" field. Just click on the x next to the category that you want to remove.
Don't forget to hit "Save".
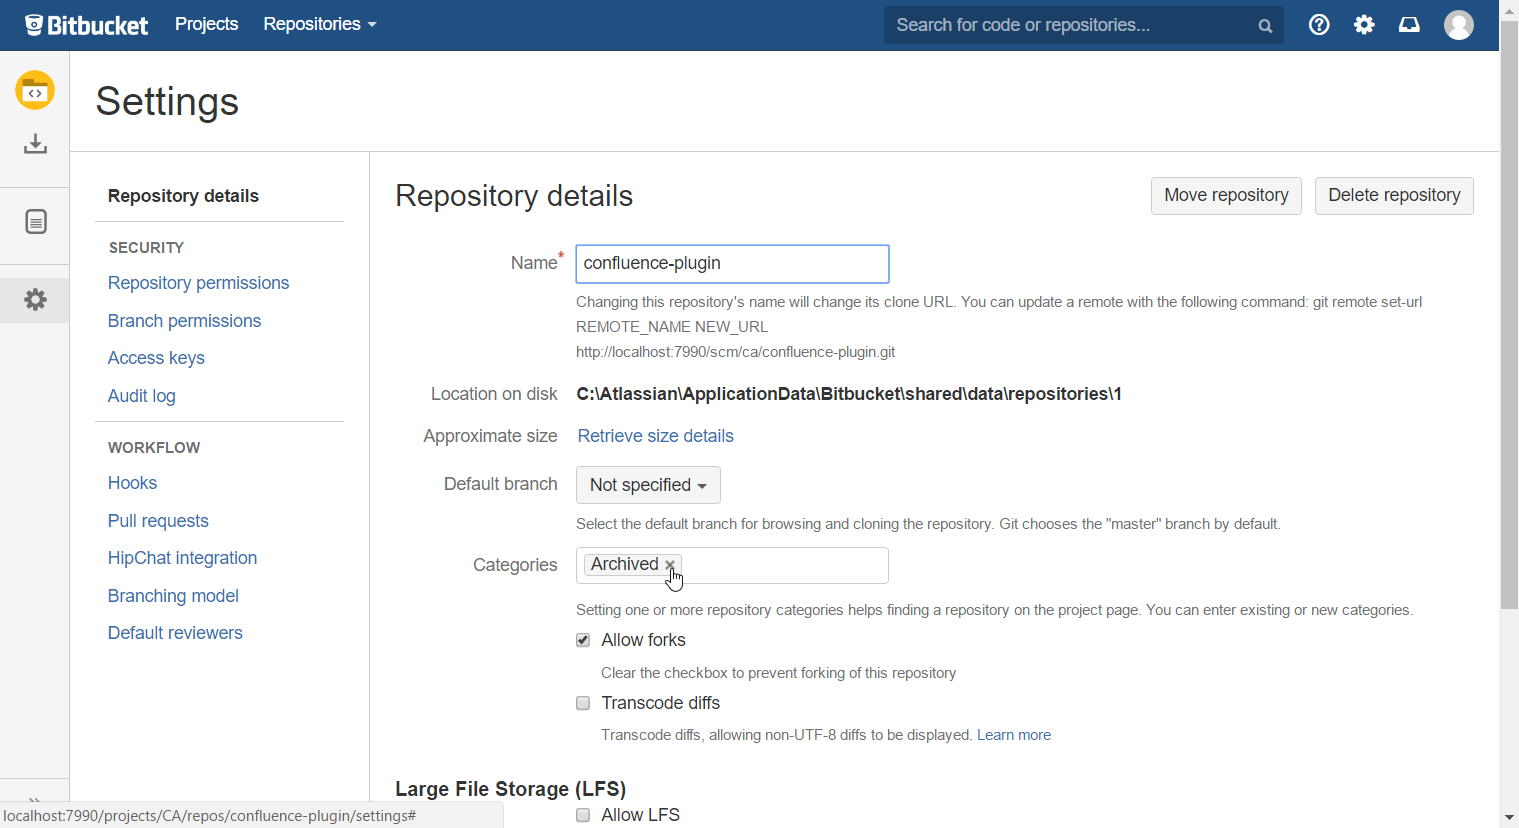
Image 2: Removing a category from a repository (click to enlarge)
Using Repository Categories
When at least one repository (of the current projects repositories) is assigned a category, a Category Selection Bar will appear on the left of the Repository Overview Page of a project. By clicking one of the tabs, the repositories on the right side will be filtered accordingly.
There is one tab for each category that is assigned to repositories in the current project. Additionally there is always an "All Repositories" tab which displays each repository of the current project. If there are repositories not assigned any categories, there will additionally be an "Uncategorized Repositories" tab.
With the "Filter Repositories" field you are able to search all repositories of the selected tab (by name).
Image 3: Filtering repositories by category and name (click to enlarge)