Deploying the SharePoint Connector to More SharePoint Sites (v 1.9)
This page tells you how to install the SharePoint Connector onto additional SharePoint site collections, at some time after the initial installation. This page applies to the SharePoint Connector 1.9.
Background information: When you first install the SharePoint Connector into SharePoint, you choose one or more SharePoint site collections where you want the connector deployed. See the installation guides for SharePoint 2007, SharePoint 2010 and for SharePoint 2013. After the initial installation, you can deploy the SharePoint Connector to additional SharePoint site collections at any time, as described below.
To install the SharePoint Connector onto additional SharePoint sites:
- Go to your 'SharePoint Installer' directory, where you previous extracted the contents of the downloaded SharePoint Connector zip file. (See the installation guides for SharePoint 2007, SharePoint 2010 and for SharePoint 2013.)
- Run
Setup.exe. (This is the same executable as the one you ran when you first installed the connector.) - Click the 'Next' button on the welcome screen to start the installation process.
- The SharePoint web part installer performs a 'System Check' to ensure that all pre-installation and configuration requirements have been met.
- If all the checks succeed, click 'Next'.
- If any of the checks fails, you will need to fix the problem first.
- The 'Repair or Remove' screen appears. Select 'Deploy to new Site Collection' and click 'Next'.
Screenshot: Deploying the SharePoint Connector to additional sites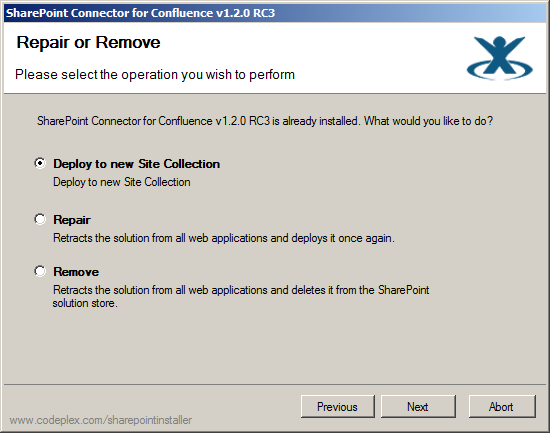
- The 'Site Collection Deployment Targets' screen appears. Select the required site collections or applications and click 'Next'.
Screenshot: Choosing the SharePoint sites
- The installer will deploy the connector to the selected sites. When complete, the 'Finished' screen appears.
Screenshot: Deployment complete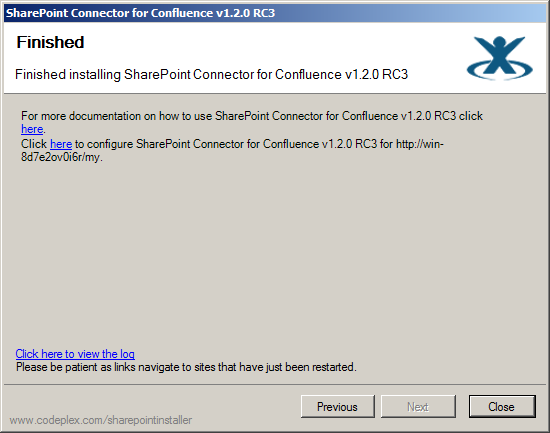
Manual way
New Webapplication
- Open Central administration
 Please note, that the user needs administrator rights on app and web frontend server
- System settings > Manage Farm solutions > atlassian.confluence.sharepoint201x.wsp
- Deploy Solution
- Choose another Webapplication
New Site collection
- Open Site Collection
- Click on Site settings
- Site collection features
- Activate Confluence Integration
Confluence
![]() Only necessary if a new webapplication has been deployed
Only necessary if a new webapplication has been deployed
Set a new connection in General configuration > SharePoint Admin with the same credentials